Use case:
- An organisation wants to deploy a new web application on a cloud service provider.
- The company needs a scalable and reliable infrastructure to host the application components.
Solution:
- Automating infrastructure with Terraform.
- Terraform’s features set up auto-scaling groups and required deployments to ensure high availability and scalability of the web application.
- Easy update of infrastructure by modifying the Terraform configuration files.
- Integration of Terraform with their CI/CD pipelines to automate the provisioning and deployment of infrastructure changes.
What is Terraform?
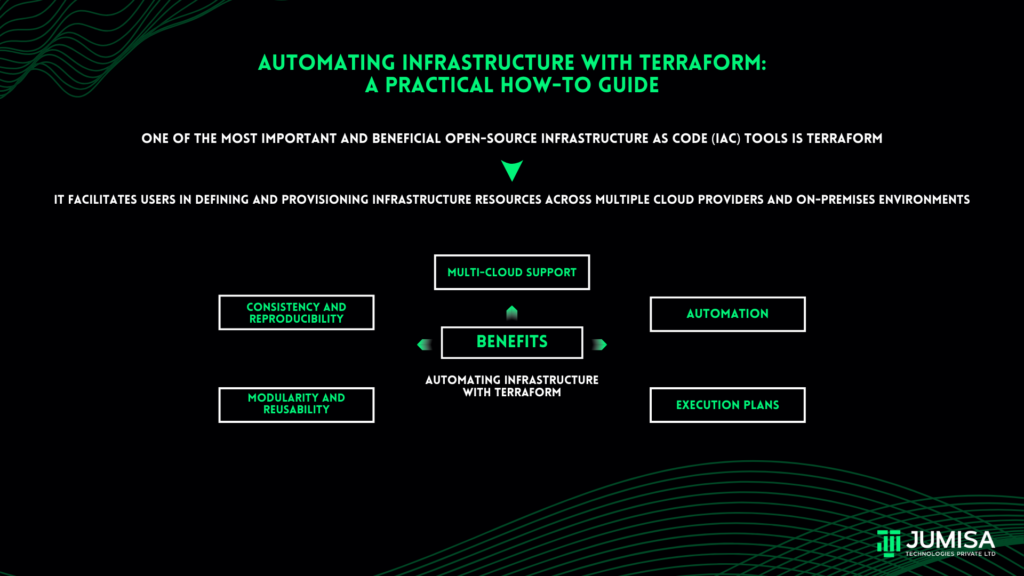
One of the most important and beneficial open-source infrastructure as code (IaC) tools is Terraform. It enables users to define and provision infrastructure resources such as virtual machines, networks, storage, and other components across various cloud providers and on-premises environments. It uses a declarative configuration language to function.
Benefits of Terraform:
- Multi-Cloud Support: Terraform supports provisioning and managing infrastructure resources across multiple cloud providers, including AWS, Azure, Google Cloud Platform and others, providing flexibility and avoiding vendor lock-in.
- Consistency and Reproducibility: Terraform ensures that your infrastructure is provisioned consistently across different environments, reducing configuration drift and ensuring reproducible deployments. This leads to more reliable and predictable infrastructure.
- Automation: Terraform automates the provisioning, updating, and tearing down of infrastructure resources, streamlining deployment workflows and reducing manual errors.
- Modularity and Reusability: Terraform’s modular design allows you to create reusable infrastructure components and configurations, promoting code reuse, maintainability, and consistency across projects. This enhances efficiency and reduces duplication of effort.
- Execution Plans: Terraform generates execution plans that outline the actions it will take to modify the infrastructure, providing visibility and allowing you to review changes before applying them.
Step-by-step guide for implementing Terraform infrastructure automation:
- Prerequisites
Before you begin, make sure you have the following:
- An account on the cloud provider platform
- Terraform installed on your local operating machine
- Required tools installed and configured
Steps
Step 1: Setup credentials on the cloud provider platform – The first step in building the infrastructure with Terraform is to configure your credentials. This is crucial for Terraform to interact with your cloud platform account.
For example, if you want to set up your credentials on Amazon Web Service, follow these steps:
- Access the AWS Management Console.
- Navigate to the IAM (Identity and Access Management) dashboard.
- Establish a new IAM user and allocate the necessary permissions.
- Produce an access key and secret access key for the IAM user.
Step 2: Install and Configure Terraform – To use Terraform, you need to install it on your operating system.
- Obtain Terraform from the official website.
- Install Terraform based on your operating system.
- Confirm the installation’s success by executing the “terraform –version” command.
- Set up your credentials by executing the necessary command.
Step 3: Define Your Infrastructure – With your environment configured, proceed to define the infrastructure you wish to establish. This entails crafting Terraform configuration files, typically denoted with a .tf extension, which outline the AWS resources you aim to provision.
- For instance, to establish an AWS EC2 instance, initiate a main.tf file.
- Proceed to generate a VPC and integrate the provided code into the main.tf.
- Generate an Internet Gateway using the syntax provided and append it to the main.tf file.
- Formulate a Route Table with the provided syntax and include it in the main.tf file, ensuring to use of the designated resource name.
- Following the creation of a subnet, add the provided code into the main.tf.
- Upon creating the subnet and route table, associate the subnet with the route table by introducing a new resource named aws_route_table_association.
- Utilize the aws_security_group resource to incorporate Security Group, incorporating the provided code.
- Establish a network interface with an IP within the previously established subnet by adding the provided code in main.tf.
- Allocate an elastic IP to the network interface created earlier (Note: EIP may necessitate an existing IGW for the association. Use depends_on to establish an explicit dependency on the IGW).
- Introduce an instance for the Ubuntu server (Note: Ensure to input the correct AMI, as it may vary by region, and align the availability zone of both subnet and instance).
- Post-instance creation, execute several commands on the instance to install the Apache server.
Step 4: Initialize and Apply – After preparing your configuration files, you must initialize your working directory and implement the configuration to establish the infrastructure. Go to your Terraform project directory and execute the subsequent commands:
- terraform init
- terraform apply
This will initialize Terraform and create the specified cloud platform resources.
Step 5: Review Infrastructure – Following the application of your configuration, Terraform will furnish details regarding the generated resources. Carefully examine this information to confirm its alignment with your expectations.
- Access the platform console to verify the instance creation and retrieve the public IP address.
- Paste the IP address into your web browser’s address bar to open the instance.
Step 6: Destroying the Infrastructure – Ensure to dismantle the resources generated during your hands-on session to prevent any unforeseen expenses. Access the VS code editor and execute the terraform destroy command to eliminate the created resources. Alternatively, utilize “terraform destroy -auto-approve” to bypass the confirmation prompt.